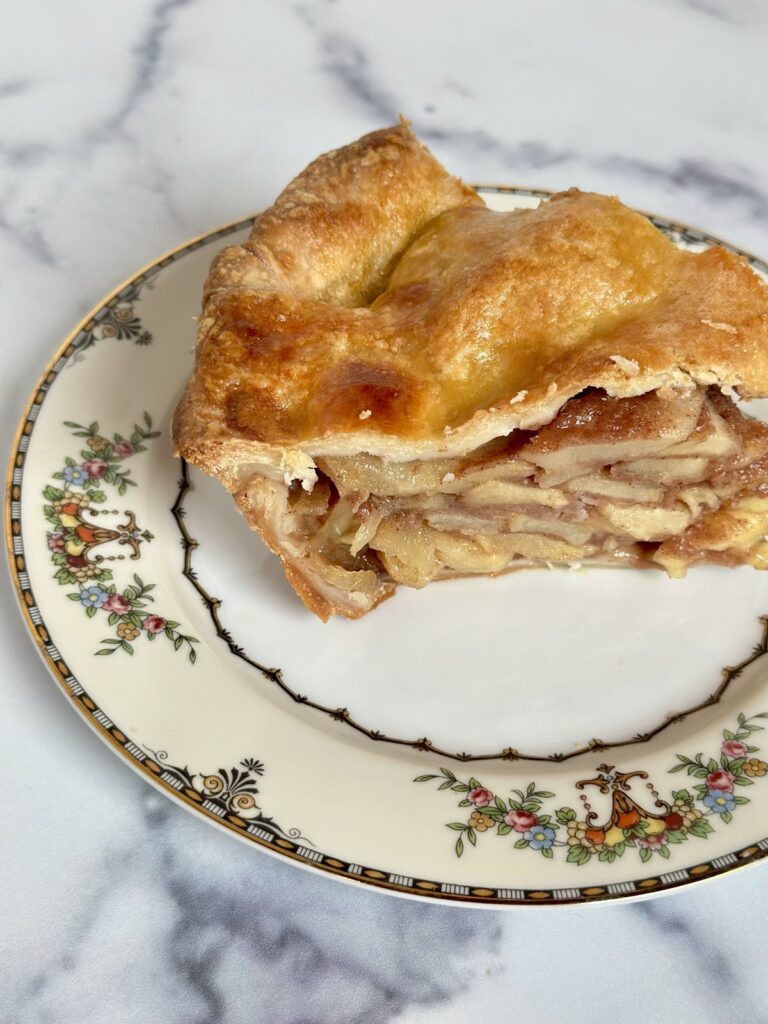
Homemade Apple Pie (10 Cups of Apples)
Flaky crust, full of apples, syrupy filling, the perfect homemade apple pie.
This post may contain affiliate links. Please read our disclosure policy.
Try My “Homemade Apple Pie (10 Cups of Apples)”:
There is nothing more comforting than a pie stuffed full of apples, bubbling, and cooked to a golden brown. This recipe for “Homemade Apple Pie” uses 10 full cups of apples (about 10–12 apples, depending on size), and it bakes up beautifully in a par-baked pie crust. Par-baked pie crust ensures the bottom crust stays crisp. The filling is sweet, cozy, and perfectly thick.
Try my recipe for: Easy Pie Crust.
This is the method I use every fall. It gives a full apple pie with a crisp bottom and a sweet apple syrup inside that comes from long, slow baking. (Baking a pie long enough is essential for the syrup to develop throughout the pie, rather than an uncooked flour taste that many pies have.)
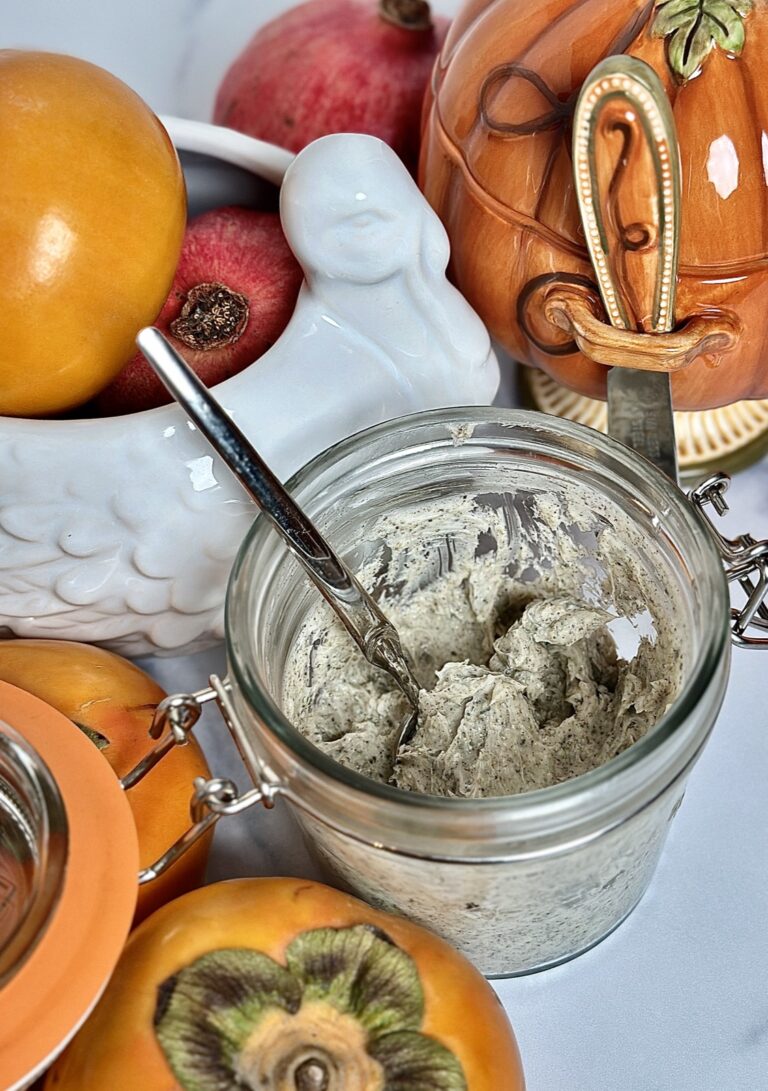
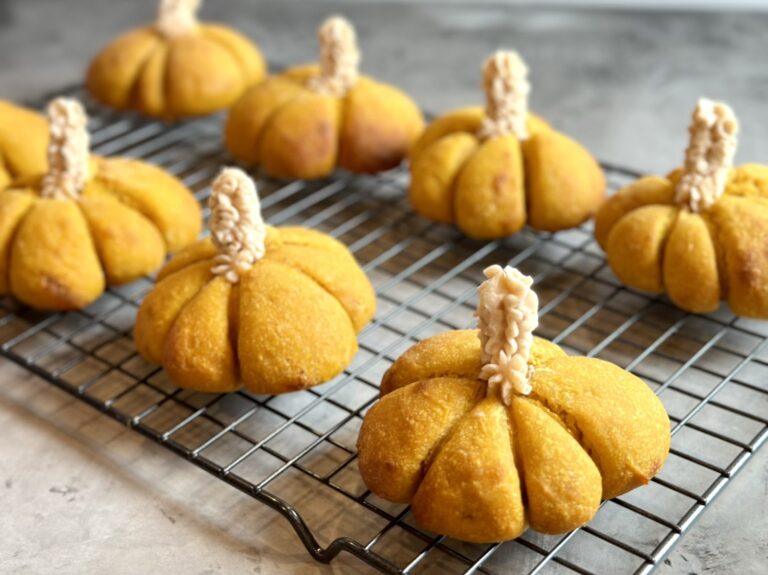
Don’t forget to check out some of my other fall recipes. Try my recipes for Festive Einkorn Sourdough Pumpkin Dinner Rolls, Cinnamon Honey Butter, and The Perfect Turkey.
Or, if sweets are your thing, try these: Einkorn Chocolate Chip Oatmeal Cookies.
How to make “Homemade Apple Pie (10 Cups of Apples)”:
Ingredients:
Apple Pie Filling Only- Click “Easy Pie Crust” For Crust Recipe
- 10 cups peeled, sliced apples (10–12 apples depending on size)
- 1 cup white sugar, plus more sugar to sprinkle on top of the pie before baking
- ¼ cup brown sugar
- ½ cup (60 g) all-purpose flour
- 1 tablespoon cinnamon
- 1 teaspoon vanilla
- 2 teaspoons lemon juice
- 5 tablespoons butter, cut into pieces
Egg Wash
- 1 egg
- 1 tablespoon of heavy cream (or milk)
You also Need:
- 1 Double Crust Pie Dough Recipe
- click here


Step-by-Step Instructions:
first, have your Pie crust Ready before you start the filling
- Click here for “Easy Pie Crust”
- Or, use your favorite recipe or a pre-made pie crust.
- Par-bake (partially blind bake) your bottom crust: see Easy Pie Crust for step-by-step photos.
- Roll out the dough and place it in your pie dish.
- Chill the pie crust in the pie dish for 20–30 minutes (prevents shrinking).
- Preheat oven to 375°F non-convection or 350°F convection oven.
- Line the crust with parchment, fill with pie weights or beans.
- Bake 15 minutes.
- Remove pie weights and parchment. Protect the edges with a silicone pie shield or foil. Spin the crust around when putting the pie back in the oven for even cooking.
- Bake 5–8 minutes more, until the bottom looks just set but not fully browned.

Combine the dry ingredients
- In a large mixing bowl, combine: white sugar, brown sugar, flour, cinnamon and butter.
- Stir together until fully blended.
- Set aside until apples are ready.
Prep the apples
- Wash and dry the apples.
- Peel and slice the apples.
- I use an all-in-one apple peeler corer slicer , which gives thin, even slices.
- After they’re peeled and sliced, I cut the spirals in half so the slices separate nicely.
- Measure 10 cups of peeled and sliced apples, and then place the apples into the large mixing bowl containing the dry ingredients.


Combine the filling
- Add the lemon juice and the vanilla to the bowl of dry ingredients and apples.
- Fold the mixture over and over until the a until every slice of apple is evenly coated.


Fill the pie
- Add the coated apples to your par-baked pie shell.
- You can dump most of the apples in, but toward the end, take your time and arrange the top so you get an even pie and a slight dome in the middle.


Add the top crust
- Roll out the top crust, lay it over the pie, and trim edges or fold them into the bottom crust.
- Seal the pie very well; this prevents juice from leaking out of the sides.
- Press the top and the bottom crusts together.
- Crimp or flute all the way around the pie.


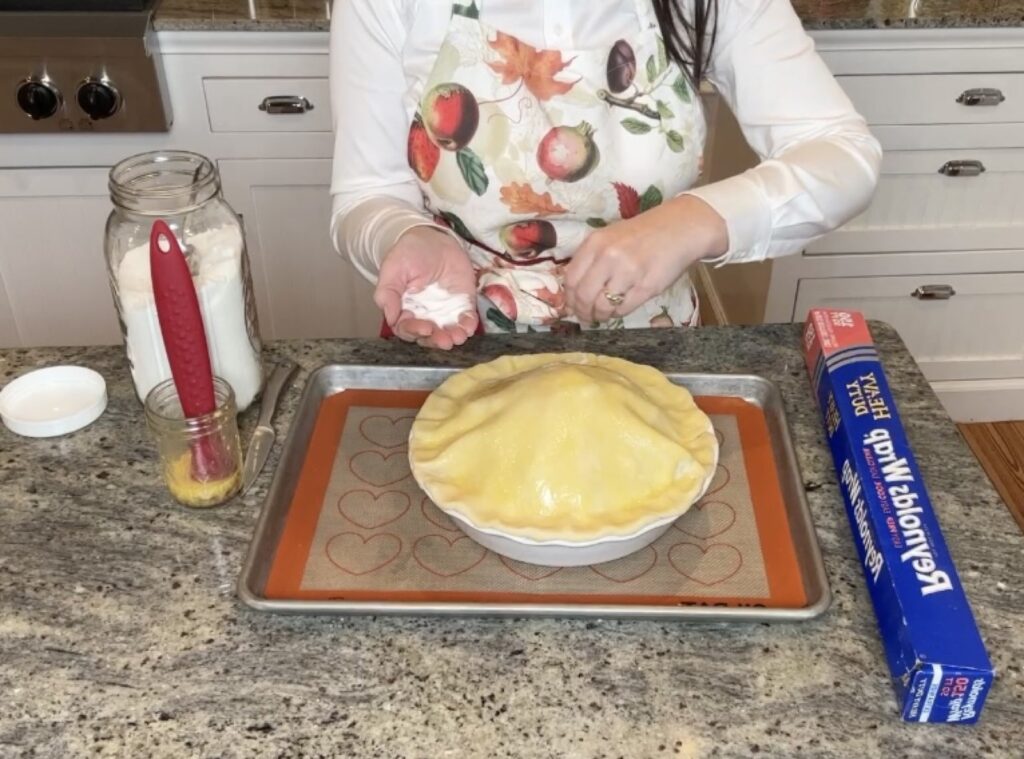
Brush with an egg wash, Sprinkle with Sugar, and vent the pie
- Crack an egg into a small glass or mason jar and add 1 tablespoon of heavy cream. Whisk vigorously with a fork or small whisk for 60 seconds, making sure the egg wash is thoroughly combined.
- Using a pastry brush, lightly brush the egg wash over the surface of the pie crust.
- Sprinkle sugar thoroughly all over the top of the pie.
- Cut a large X in the top for steam release. (Add decorative vents if you like.)


Before baking:
- Place a Silpat or parchment on a baking sheet.
- Place the pie on top of the Silpat or parchment (this prevents sticking if it bubbles over and helps with clean up).
- Add a pie crust shield to protect the edges of the pie.
- Tent the entire top of the pie loosely with foil. This is an important step because the pie has a long bake time. This protects the top crust while the filling thoroughly cooks.
- Do not sit the foil tightly on the uncooked top pie crust.
- Tented foil should hover above the crust. I do this by putting a longitudinal fold down the middle of the foil and then rest the foil on the pie shield.


Bake the piE
- Convection Oven
- Preheat to 375°F
- Bake 25 minutes
- Reduce to 350°F
- Bake 60 to 75 minutes, until the filling is bubbling through the pie vents.
- At the halfway point, remove the foil tent so the crust can brown, and spin the pie around halfway in the oven for even browning. If the pie browns too fast, put the foil back on.
- Conventional Oven (Non-convection oven)
- Preheat to 400°F
- Bake 25 minutes
- Reduce to 375°F
- Bake 65 to 85 minutes, until the filling is bubbling through the pie vents.
- At the halfway point, remove the foil tent so the crust can brown, and spin the pie around halfway in the oven for even browning. If the pie browns too fast, put the foil back on.

How to Know When Your Pie Is Done
- Apple pies must bake long enough for:
- the apples to soften
- the flour to fully cook
- the syrup to thicken
- The pie is done when:
- The filling is bubbling thickly through the center vent for several minutes.
- Not just bubbling on the sides of the pie but bubbling in the center as well.
- You hear a hissing sound as the syrup boils.
- The top and bottom crusts are deep golden brown.
- Internal temp of the filling is about 200°F in the center of the pie.
- The filling is bubbling thickly through the center vent for several minutes.

When to eat the pie
- Once done, let the pie cool at least 4 hours so the filling sets.
- 12-24 hours cooling on the counter is best.
- Serve the apple pie at room temperature or heat the pie at 300°F for 20 minutes to warm before serving.
Storage Tips
- Counter (best for first 24–48 hours):
Keeps the crust crisper and the filling at its best texture. Cover loosely with foil or a pie dome.- Refrigeration isn’t required for apple pie because of its sugar and acidity. Refrigeration is helpful for longer storage or warmer climates.
- Refrigerator (after day 2 or in warm kitchens):
Extends shelf life to 5-5 days. Refrigerator firms up the filling and softens the crust. I recommend rewarming the pie in the oven to restore texture.
Helpful Tips
- Don’t skip the par-bake; par-baking guarantees a crisp bottom.
- A Silpat or parchment on the sheet pan prevents the pie dish from sticking to the sheet pan. Also, if it spills, the sheet pan protects your oven. As soon as the pie comes out of the oven, take it off the sheet pan and place the pie directly on a cooling rack.
- A foil tent protects the top crust from burning during long baking times.
- Long baking is a must for a rich syrup, fully softened apples, and no raw flour taste.

Homemade Apple Pie (10 Cups of Apples)
Equipment
- Items used: apple peeler-corer-slicer, Emile Henry 9" Pie Dish, half-sheet baking pan, cooling rack, Silpat Baking Mat, Pyrex measuring cup, All Purpose Rolling Pin, 1/8th Inch Rolling pin, Pyrex Bowls, Pastry Cutter, Plastic Bowl Scraper, Bench Scraper, Mesh Strainer, Diamond Kosher Salt, Spatula, Food Processor, All-Clad Measuring Cups, All-Clad Measuring Spoons, Kitchen White Flour Sack Towels, Pie Crust Shield Protector, Parchment Paper
Ingredients
- 10 cups peeled sliced apples 10–12 apples, depending on size
- 1 cup white sugar Plus more sugar for sprinkling on top of the pie before baking
- ¼ cup brown sugar
- ½ cup all-purpose flour (60 grams)
- 1 tablespoon cinnamon
- 1 teaspoon vanilla
- 2 teaspoons lemon juice
- 5 tablespoons butter cut into pieces
Egg Wash
- 1 egg
- 1 tablespoon heavy cream (or milk)
You Also Need:
Instructions
- First, have your Pie crust Ready before you start the filling. Click here for "Easy Pie Crust". Or, use your favorite recipe or a pre-made pie crust. Par-bake (partially blind bake) your bottom crust: see Easy Pie Crust for step-by-step photos.Roll out the dough and place it in your pie dish.Chill the pie crust in the pie dish for 20–30 minutes (prevents shrinking).Preheat oven to 375°F non-convection or 350°F convection oven.Line the crust with parchment, fill with pie weights or beans.Bake 15 minutes.Remove pie weights and parchment. Protect the edges with a silicone pie shield or foil. Spin the crust around when putting the pie back in the oven for even cooking.Bake 5–8 minutes more, until the bottom looks just set but not fully browned.
- Next, combine the dry ingredients.In a large mixing bowl, combine: white sugar, brown sugar, flour, cinnamon, and butter. Stir together until fully blended. Set aside until apples are ready.
- Now, prep the apples.Wash and dry the apples.Peel and slice the apples. (I use an all-in-one apple peeler corer slicer , which gives thin, even slices.)After they're peeled and sliced, I cut the spirals in half so the slices separate nicely.Measure 10 cups of peeled and sliced apples, and then place the apples into the large mixing bowl containing the dry ingredients.
- Combine the filling.Add the lemon juice and the vanilla to the bowl of dry ingredients and apples.Fold the mixture over and over until the a until every slice of apple is evenly coated.
- Fill the pie.Add the coated apples to your par-baked pie shell.You can dump most of the apples in, but toward the end, take your time and arrange the top so you get an even pie and a slight dome in the middle.
- Add the top crustRoll out the top crust, lay it over the pie, and trim edges or fold them into the bottom crust.Seal the pie very well; this prevents juice from leaking out of the sides.Press the top and the bottom crusts together.Crimp or flute all the way around the pie.
- Brush with an egg wash, sprinkle the top with sugar, and vent the pie:Crack an egg into a small glass or mason jar and add 1 tablespoon of heavy cream. Whisk vigorously with a fork or small whisk for 60 seconds, making sure the egg wash is thoroughly combined.Using a pastry brush, lightly brush the egg wash over the surface of the pie crust. Sprinkle the top crust thoroughly with sugar.Cut a large X in the top for steam release. (Add decorative vents if you like.)
- Before baking:Place a Silpat or parchment on a baking sheet.Place the pie on top of the Silpat or parchment (this prevents sticking if it bubbles over and helps with clean up).Add a pie crust shield to protect the edges of the pie.Tent the entire top of the pie loosely with foil. This is an important step because the pie has a long bake time. This protects the top crust while the filling thoroughly cooks.Tented foil should hover above the crust. I do this by putting a longitudinal fold down the middle of the foil and then rest the foil on the pie shield.Do not sit the foil tightly on the uncooked top pie crust.
Bake the Pie
- Convection OvenPreheat to 375°FBake 25 minutesReduce to 350°FBake 60 to 75 minutes, until the filling is bubbling through the pie vents.At the halfway point, remove the foil tent so the crust can brown, and spin the pie around halfway in the oven for even browning. Keep an eye on the pie and check every 10 minutes. If the pie browns too fast, put the foil back on.
- Conventional Oven (Non-convection oven)Preheat to 400°FBake 25 minutesReduce to 375°FBake 65 to 85 minutes, until the filling is bubbling through the pie vents.At the halfway point, remove the foil tent so the crust can brown, and spin the pie around halfway in the oven for even browning. Keep an eye on the pie and check every 10 minutes. If the pie browns too fast, put the foil back on.
How to Know When Your Pie Is Done
- Apple pies must bake long enough for:The apples to soften.The flour to fully cook.The syrup to thicken.The pie is done when:The filling is bubbling thickly through the center vent for several minutes. Not just bubbling on the sides of the pie but bubbling in the center as well.You hear a hissing sound as the syrup boils.The top and bottom crusts are deep golden brown.Internal temp of the filling is about 200°F in the center of the pie.
Notes
Keeps the crust crisper and the filling at its best texture. Cover loosely with foil or a pie dome. Refrigeration isn’t required for apple pie because of its sugar and acidity. Refrigeration is helpful for longer storage or warmer climates. Refrigerator (after day 2 or in warm kitchens):
Extends shelf life to 5-5 days. Refrigerator firms up the filling and softens the crust. I recommend rewarming the pie in the oven to restore texture. Helpful Tips: Don’t skip the par-bake; par-baking guarantees a crisp bottom. A Silpat or parchment on the sheet pan prevents the pie dish from sticking to the sheet pan. Also, if it spills, the sheet pan protects your oven. As soon as the pie comes out of the oven, take it off the sheet pan and place the pie directly on a cooling rack. A foil tent protects the top crust from burning during long baking times. Long baking is a must for a rich syrup, fully softened apples, and no raw flour taste. See the above post for step-by-step instructions with detailed pictures and tips for success.
Items I used: apple peeler-corer-slicer, Emile Henry 9″ Pie Dish, half-sheet baking pan, cooling rack, Silpat Baking Mat, Pyrex measuring cup, All Purpose Rolling Pin, 1/8th Inch Rolling pin, Pyrex Bowls, Pastry Cutter, Plastic Bowl Scraper, Bench Scraper, Mesh Strainer, Diamond Kosher Salt, Spatula, Food Processor, All-Clad Measuring Cups, All-Clad Measuring Spoons, Kitchen White Flour Sack Towels, Pie Crust Shield Protector, Parchment Paper
A Life Full of Living participates in affiliate advertising with Amazon and can receive a commission when you make a purchase through these Amazon links. Purchases made on Amazon through these links support content development on this site. Thank you!
Also, try some of my call recipes: Festive Einkorn Sourdough Pumpkin Dinner Rolls, Cinnamon Honey Butter Perfect Mashed Potatoes Every Time, Perfect Green Beans with Bacon, The Perfect Turkey, Perfect Dinner Rolls, Homemade Poultry Seasoning (Better Than Store-Bought!, Savory Poultry Seasoning Compound Butter, and Homemade Citrus Herb Dry Brine for Turkey (Also Great for Chicken and Steak!)